
A photo box only delivers high-quality results if it is set up and positioned correctly. Many people underestimate how strongly factors such as distance, room size, light sources or movement zones influence image quality.
Regardless of whether you are using a photo box for a wedding, a birthday or a company party – the set-up determines the photo quality later on and how intensively it is used.
In this comprehensive setup guide you will find out:
- How much space you really need
- Which distances are ideal
- How to make optimum use of light
- Where the photo box should be placed in the room
- Which technical details are important
- What special features the pixolo photo box offers
How much space does a photo box really need?
Before you think about lighting and backgrounds, you need one thing: enough space. The space determines how many people can fit in the picture at the same time, how relaxed guests can stand in front of the camera and whether a queue will form. Especially with group photos, half a meter more often makes all the difference.
For a comfortable setup, you should plan with a clear open area that is not also a passageway.
Recommended minimum requirements:
- 2 x 2 meters free space in front of the camera
- 1.5 to 2 meters distance from the photo box to the group
- 50 cm lateral safety distance for movements
- firm, level floor without wobbling
- No tripping hazards due to cables, decorations or furniture edges
Why the right distance is so important:
-
too close often means cut-off heads
- too close often looks unfavorable due to the wide-angle effect
- too close limits the number of people in the picture
- Too little space leads to stress, crowding and less use
Choose the right position in the room
The position determines whether the photo box becomes a highlight or remains unused. If guests don’t see it, they hardly use it. If it’s in the way, it gets in the way. If it is too close to loudspeakers, the area will appear hectic and many guests will avoid it.
The best location is clearly visible, but not in the middle of traffic. Imagine building your own little photo zone that feels natural.
How to find the ideal location:
- clearly visible from the main area
- Easily accessible without detours
- not directly at the entrance, so that guests can arrive first
- not in the passageway, so that nobody walks into the picture
- not directly next to speakers or DJ, so that the area remains relaxed
Bonus tip for more use:
- Place a small sign at eye level: Photos here
- Keep the area around the photo box clear
- Position them so that waiting guests are not in the picture
Using light correctly, the decisive factor for beautiful photos
Light is the most important factor for image quality. Even with a good camera, poor lighting can lead to harsh shadows, dark eyes and unflattering skin tones. The aim is to reduce contrasts and achieve even lighting.
With the pixolo photo box, the integrated light panel helps because it illuminates evenly. Nevertheless, you should pay attention to the light sources in the room so that there is no backlighting or extreme contrasts.
Basic rules for good lighting:
- Avoid strong backlighting from windows
- Avoid direct spots on faces
- Avoid colorful party lights directly in the photo area
- focus on uniform room brightness
- Always take a test photo with real party lighting
How to recognize bad light:
- Faces appear blotchy or too dark
- Shadow under eyes or nose
- Background is much brighter than the people
- Skin appears yellowish, greenish or gray
Planning electricity, safety and movement areas
Many setup problems arise because cables are in the way or because guests don’t know where to stand. A good setup is not only technical, but also safe and intuitive. Therefore, plan electricity and movement areas carefully.
The positioning of the pixolo photo box is particularly flexible because it has an integrated rechargeable battery. This means you can also set it up where there is no power socket right next to it. You also reduce the number of cables in the path, which increases safety.
What you should bear in mind for the power setup:
- check whether there is a power socket nearby if you want permanent power
- Avoid running cables across walkways
- use cable ducts or tape if necessary
- keep the photo area free of decorations that could tip over
- plan a small waiting area so that the queue does not protrude into the picture
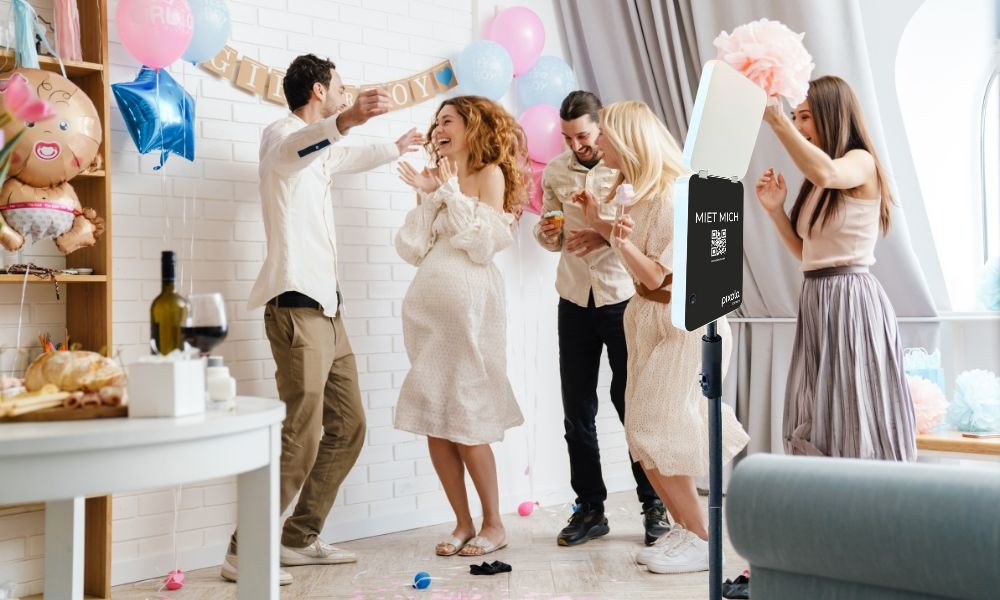
Why the pixolo photo box is particularly easy to position
When you set up a photo box, one thing counts above all: as little effort as possible and as much flexibility as possible. This is exactly what the pixolo photo box is designed for. It is compact, slim and designed so that you can set it up without any technical stress.
In practice, this makes them ideal for apartments, terraces, club rooms or event locations where you don’t have a power socket or perfect lighting conditions everywhere.
pixolo photo box advantages for setup:
- Integrated battery for flexible placement
- Integrated light panel for uniform illumination
- Slim design that also works in small rooms
- No printer unit, therefore less weight and fewer sources of error
- digital backgrounds and digital props, thus less deco stress
- Quick set-up so that you are ready to go straight away
Indoor setup, the complete guide for rooms and locations
An indoor setup sounds simple, but this is where the most common mistakes happen. Windows quickly create backlighting, dark corners swallow up details, and near the dance floor the background becomes unsettled. The aim indoors is to control light and movement so that faces appear clear and natural.
Choose a location that is as evenly lit as possible, avoid windows behind the guests and plan the distance so that small groups can stand comfortably.
Indoor location recommendations:
- choose an area without strong window backlighting
- Avoid corners with very dark walls
- do not place the photo box directly next to the dance floor
- use one side of the wall or a quiet corner, but clearly visible
- keep the area free of chairs, plants or decorations at the edge of the picture
Indoor lighting tips:
- use uniform room lighting instead of individual hard spots
- dim colorful lights near the photo box, if possible
- take a test photo with the real evening lighting
- make sure that faces are not illuminated harshly from above
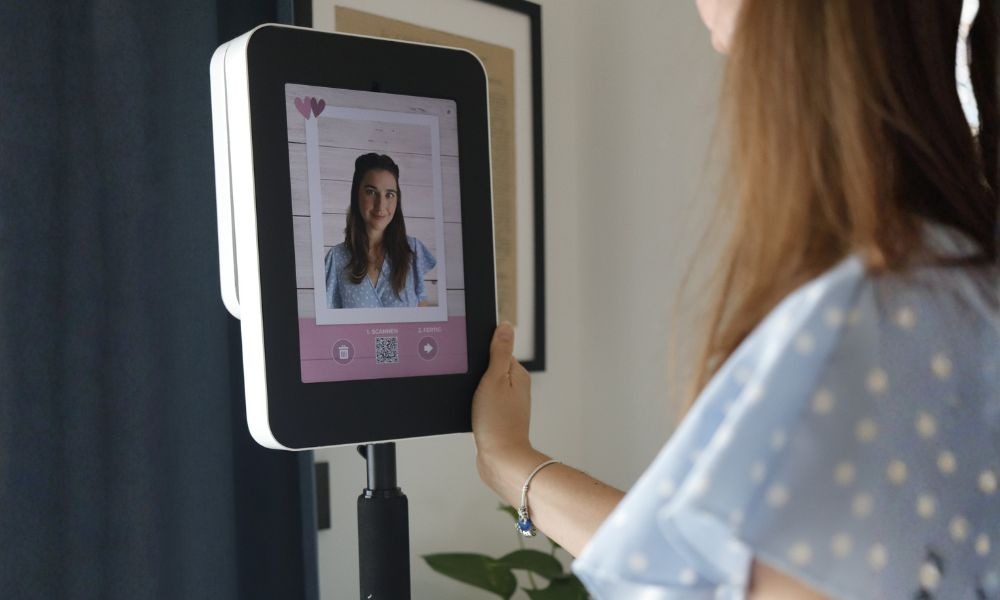
Indoor position and height:
- Camera at eye level of most guests
- Enough space at the top for larger people
- A marker on the floor helps guests to stand correctly
Outdoor setup, the complete guide for garden, terrace and outdoor events

An outdoor setup can be perfect because you have more space and the atmosphere is often more relaxed. At the same time, outdoors places higher demands on the setup. Sun, wind and the ground affect image quality and stability. The aim is to avoid direct sunlight, protect the photo box and ensure it is stable.
The pixolo photo box is particularly practical outdoors because you can position it flexibly thanks to the integrated rechargeable battery without having to lay a cable across the garden or paths.
Outdoor location recommendations:
- place the photo box under a canopy or in a shady area
- avoid direct sunlight on the screen and faces
- choose a solid surface so that the tripod is stable
- keep your distance from barbecues, bars or areas with lots of smoke and steam
- Flat wind protection when it is draughty
Outdoor lighting tips:
- soft light in the shade in the late afternoon or evening is best
- Avoid direct midday sun, it creates hard shadows
- as soon as it gets darker, uniform light is particularly important
- take a test photo when the sun is lower, the light changes quickly
Outdoor safety and weather:
- Always factor in the risk of rain, even if the forecast is good
- Do not install in areas where drinks are easily spilled
- Keep your distance from pools or water points
- leave enough space so that nobody bumps into the tripod
Common setup errors that you can easily avoid
Many problems later look like technical problems, but are actually setup errors. The good thing is: if you know them, you can avoid them very easily. A test photo and small corrections often solve everything.
The most common mistakes:
- Too little distance in front of the camera
- Photo box in the passageway, constant movement in the background
- Window or strong light source directly behind the guests
- Colorful party lights in the immediate vicinity
- No test photo before the start
- Background too restless, many objects in the picture
FAQ: Frequently asked questions about the photo box setup
Here are the questions people ask most frequently before the event.
How high should the photo box be?
The camera should be approximately at the eye level of most guests. This makes faces look natural and no one has to bend or stretch.
How much distance is ideal?
Plan a distance of 1.5 to 2 meters between the photo box and the guests. This means that even small groups fit well into the picture.
Can I use the pixolo photo box outdoors?
Yes, as long as it is protected from rain and direct sunlight and is stable.
Do I need extra light?
This is not usually the case with the pixolo photo box, because the integrated light panel ensures even illumination.
Can I set up the pixolo photo box without a power socket?
Yes, the pixolo photo box has an integrated rechargeable battery and can therefore be positioned flexibly.
Should the photo box be next to the DJ?
Better not. Too much movement and volume make the area restless. A visible but slightly offset location works better.
The last check before the event
The best moment for setup optimization is just before guests arrive. Then you can see the real light, the decorations are already in place and you can test whether everything looks good in the picture. This last check prevents you from having to readjust later in the middle of the party.
Quick check in 2 minutes:
- Distance is correct, 1.5 to 2 meters are free
- Location is visible, but not in the passageway
- Light is uniform, no strong backlighting
- Stand is stable and secure
- Test photo with two people looks good
- Waiting area is such that the queue is not in the picture